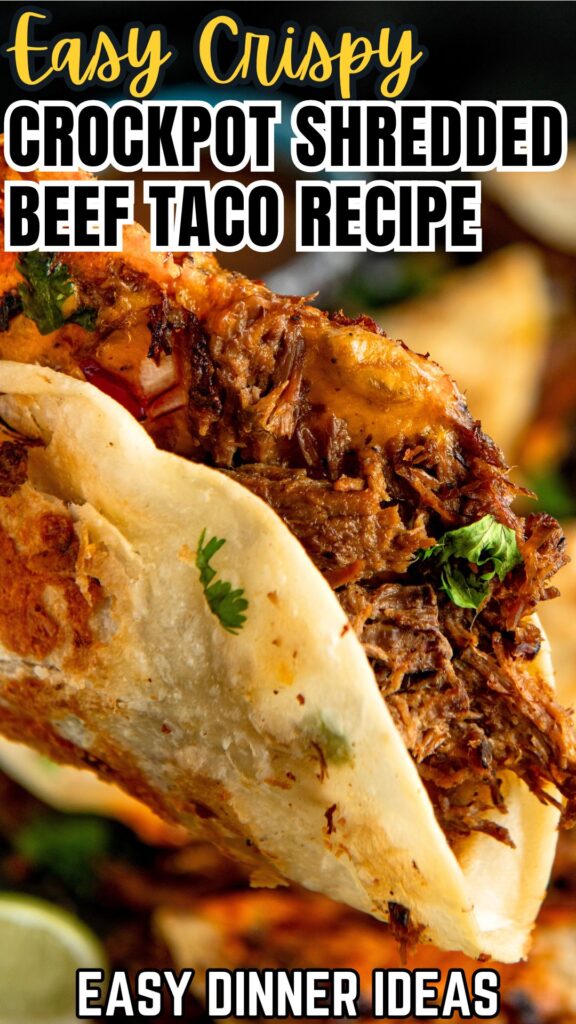
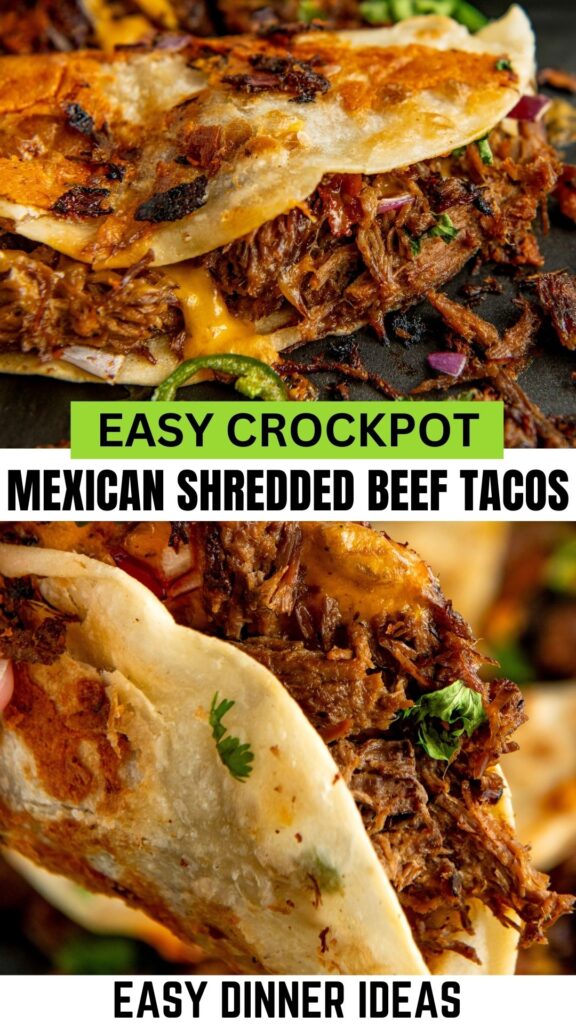
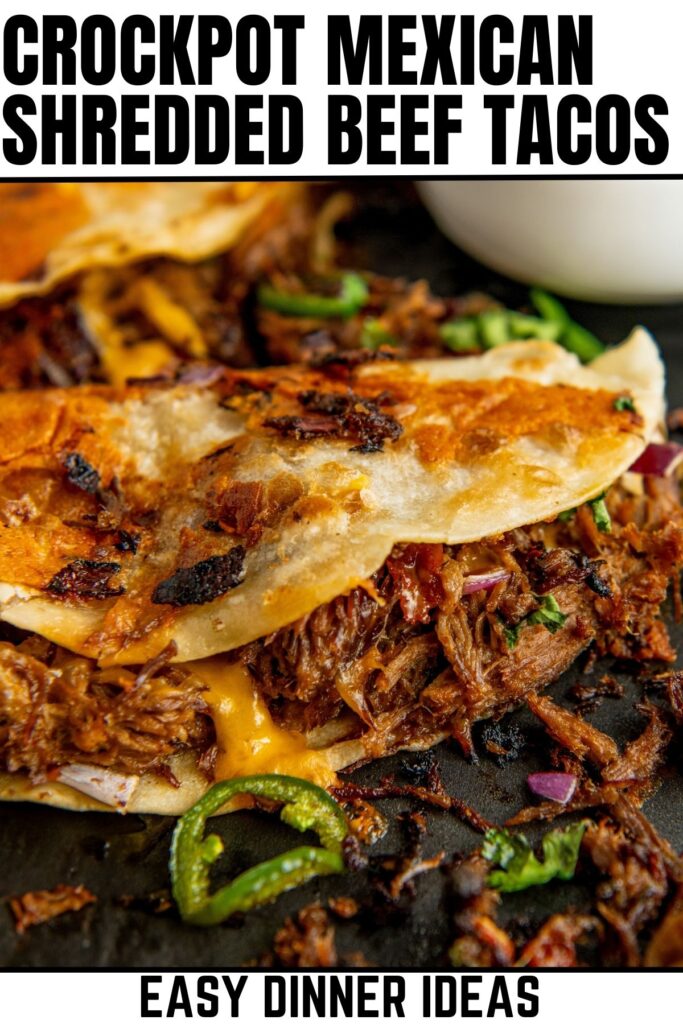
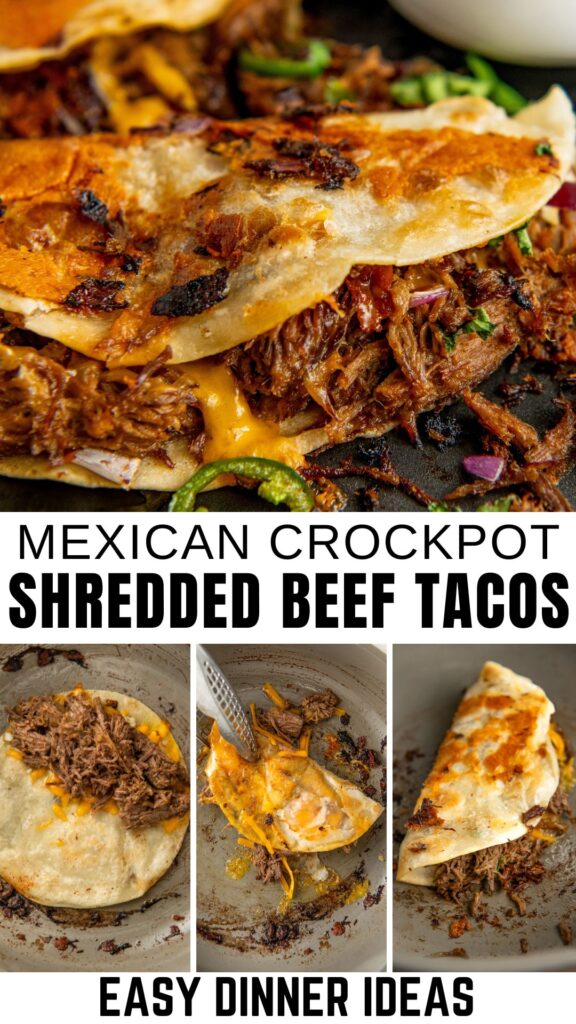
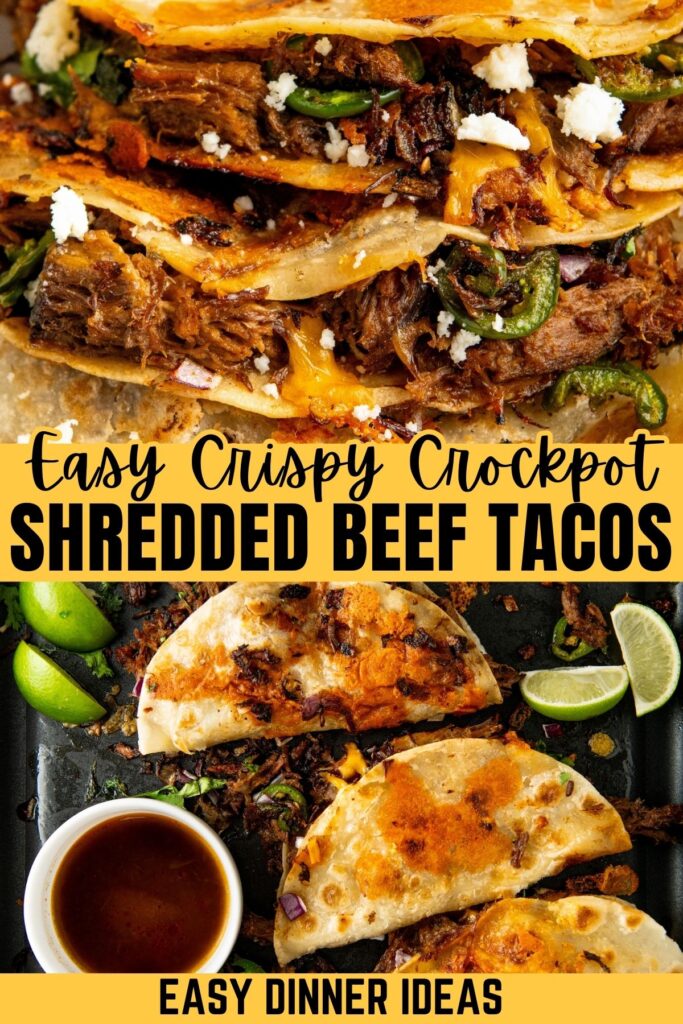
Mexican Shredded Beef Tacos are stuffed with flavorful, tender crockpot shredded beef and wrapped in crispy, cheese coated tortillas. Served with a bowl of savory broth for dipping — Taco Tuesday just got a whole lot more exciting!

5 Reasons To Love These Mexican Shredded Beef Tacos
- Just a few simple steps to assemble and crisp up the tacos.
- Melt-in-your-mouth beef with bold, savory flavor.
- Feels like a restaurant meal — right from your kitchen.
- Crispy edges with lots of gooey cheese? Yes, please!
- Kid-approved, crowd-pleasing, and fiesta-worthy.

Ellen’s Notes
From my favorite easy taco soup recipe to juicy shrimp tacos, my deep love for good Tex-Mex has been very well documented. So when I say that these might just be my new favorite tacos — that means a lot! I serve these often for parties, making the shredded beef in the crockpot a few days before (it’s *so* easy) and then frying up the crispy tacos to order. If serving a crowd, use a large griddle to cook multiple tacos at once and set up a toppings bar, so everyone can add their own fix-ins. Don’t forget the chips and chili con queso for the perfect appetizer!

Ingredient Notes
Scroll down to the recipe card below for the full ingredient list and exact amounts!
- Tortillas: Flour tortillas are my personal favorite, but corn also works well. If using corn tortillas, I recommend microwaving them for 30 seconds, wrapped in a damp paper towel, to prevent them from cracking. Also, I love to buy raw flour tortillas (found in the refrigerated section) so I can cook them fresh when ready, they truly are the best!
- Mexican Shredded Beef: Cooked low and slow in the crockpot, it’s extra tender, juicy, and packed with flavor. However, you can use any kind of cooked meat you like. Our favorite ground beef taco meat or crockpot chicken tacos would make tasty fillings!
- Cheese: Shredded cheddar, a Mexican blend, Oaxaca cheese, or any good melty cheese will all taste amazing. I like to do a mixture, just choose your favorites there is no wrong answer here.
- Oil: Misting with avocado spray is optional but it really helps to get the tortillas crispy and golden brown. You can also just brush a little oil onto the tortillas by hand.

Want to save this recipe?
How to Make Crispy Mexican Shredded Beef Tacos
Just like when making my smash burger tacos, I recommend a nonstick skillet and not a cast iron, because cast iron can get too hot. Tortillas burn easily if the heat is too high. Using a nonstick skillet is easier to control the heat. Be careful not to overfill your tacos, or you might end up with a big mess on your hands when you try to flip them. Below is a quick recipe overview, but please scroll down to the recipe card for full instructions.


How To Serve Mexican Shredded Beef Tacos
Our favorite way to serve these tacos is with a warm bowl of the leftover cooking broth from the shredded beef. Like birria tacos, just dip the crispy taco in the broth and enjoy! Here are a few more options:
- Optional Toppings:
- Salsas: Pico de gallo, mango salsa, corn salsa, etc.
- Guacamole or diced avocado
- Sour cream, Mexican crema, or try our cilantro lime crema
- Cilantro
- Diced onion
- Jalapeños or hot sauce
- Sides: You can’t go wrong with Mexican corn salad or zesty cilantro lime rice and beans.

Crispy Mexican Shredded Beef Tacos
Ingredients
- 12 to 15 flour tortillas, or corn
- 3 to 4 cups Mexican shredded beef
- 2 cups shredded cheese, cheddar, Oaxaca cheese, or Mexican blend
- avocado oil spray, or oil and a pastry brush
- Mexican shredded beef broth, optional for dipping
Want to save this recipe?
Instructions
- Heat a large non-stick skillet (or two non-stick skillets – or a large griddle – so you can make more tacos at once) over medium-high heat.
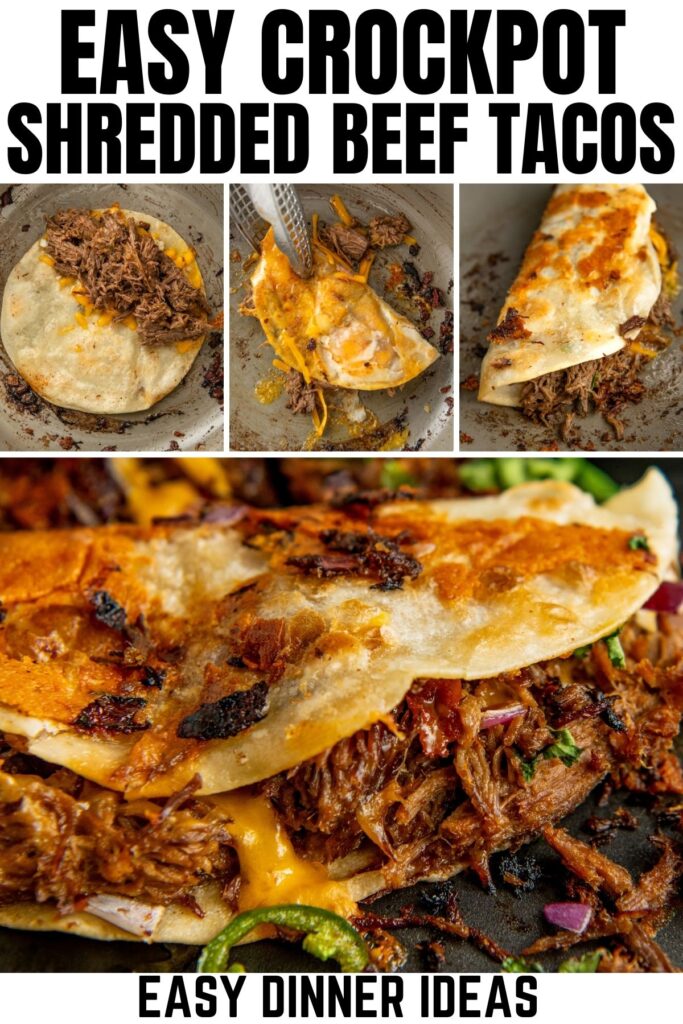
- Lightly spray one side of a tortilla with the avocado spray (or lightly brush with oil) and lay the tortilla spray side down in the hot skillet. Lightly brown the tortilla for about 30 to 60 seconds. Then, lightly spray the un-cooked side of the tortilla and flip to lightly brown the other side. Keep in mind, the tortillas will continue to cook and brown more as you add the fillings and melt the cheese.
- While the second side is browning, add shredded cheese and shredded beef to one half of the tortilla. Do not overfill. I use about 2 to 3 tablespoons of cheese and 4 tablespoons of shredded beef.
- Fold the tortilla over, making a taco, and cook for about 2 minutes more. Flip as needed to allow the cheese inside to melt. For an even cheesier taco, add a few tablespoons of shredded cheese to the skillet AFTER cooking a taco. Let the cheese melt, then press the outside of the cooked taco into the melted cheese. Repeat with the remaining tortillas. (Check notes below for how to keep tacos warm until ready to serve.)
- Serve immediately, with the warmed broth for dipping, if desired, and all your favorite taco toppings.
⭐️ Tried this recipe? Leave a comment and rating! It only takes a minute and helps support our family-run blog. ❤️
Notes
- Keep Tacos Warm: Place tacos in an oven-safe pan covered with foil in a 300°F oven. You can also heat a large griddle over low heat on the other side of the stove. Placing the finished tacos on the griddle until ready to serve.
- Store Leftovers: These tacos are best served hot and fresh, however they are honestly still really tasty leftover. Store leftover tacos in an airtight container in the fridge for up to 4 days.
- Reheat Leftovers: Loosely wrap a taco in foil and reheat in the air fryer for 375°F for 4 to 5 minutes. Then you can open the foil and cook for an extra minute to help re-crisp the tortilla.
Nutrition
More of the Best Taco Recipes
- Have some fun on game day with walking tacos!
- Smash burger tacos are always a huge hit, especially with kids.
- Fish tacos are so easy to make – and air fryer fish tacos are even easier!
- I always enjoy making a big batch of crockpot chicken tacos with a bunch of different toppings.
- Not quite tacos, but sheet pan steak fajitas and sheet pan shrimp fajitas still fit the bill!
- Have fun with cheesy, beefy, one-pot taco pasta!
- Make a big batch of sheet pan tacos for your next party.


These are so easy to make and yummy.
These are our new favorite tacos! I had not made them before this way, but it was a lot easier and less messy than trying to dip the tortillas in broth. Will definitely be in our dinner rotation from now on!
Holy taco! These were GOOD! I love birria tacos from a local place and these will save me some money for sure. Thanks for the recipe.