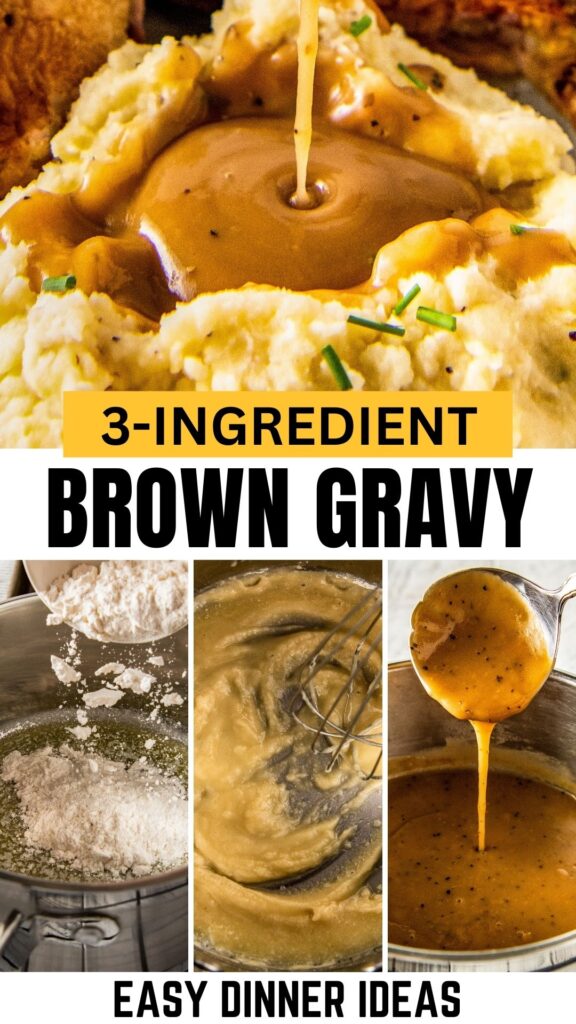

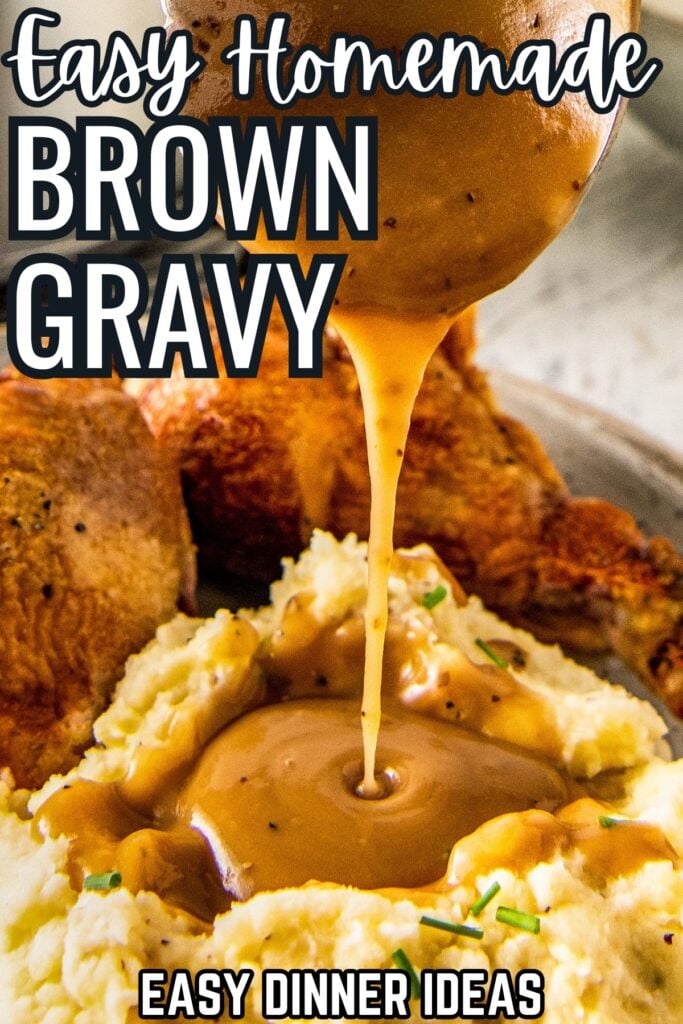
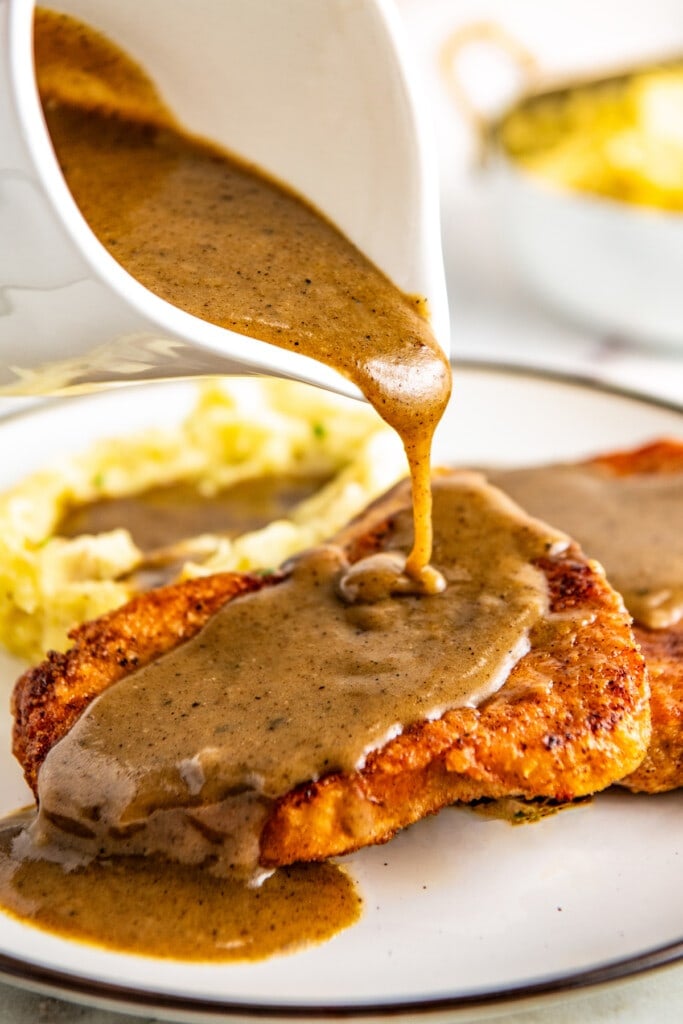
If you’re looking for a simple, yet flavorful addition to your meal, this 3-ingredient brown gravy is the perfect match! With its smooth, velvety texture and rich, savory flavor, it transforms everything from mashed potatoes to fried pork chops into something extra special. Don’t worry, no pan drippings are needed for this homemade brown gravy recipe!

Why We Love Brown Gravy
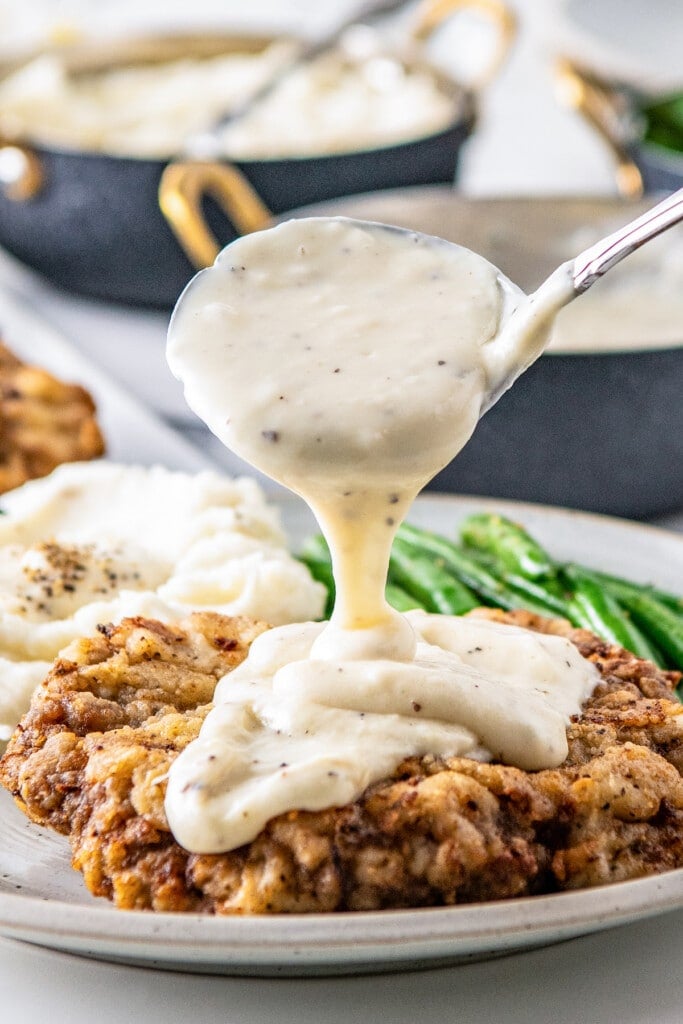
Thanksgiving dinner doesn’t start until there’s a gravy boat on the table. It’s just the way it is! And while this homemade brown gravy recipe is the star of the show on turkey day, we also whip it up year-round for all sorts of comforting dinners. Just like white gravy and chicken gravy, everything it touches turns to gold! And yes, it’s so much better than the store-bought stuff.
- 3 Ingredients Only: This gravy uses just three simple ingredients, and you probably already have them in your kitchen!
- Customizable: While delicious as is, you can easily add a twist by incorporating herbs or spices for an extra flavor boost.
- Budget-Friendly: With just three ingredients, this gravy is both easy on the wallet and the time clock.
- Make Ahead: You can make it in advance, and it reheats beautifully, saving you time on busy nights or holiday dinners.
Everything’s better with gravy, right? Enjoy more of the best comfort food recipes like breaded pork chops ad gravy, crockpot pork chops and gravy, and chicken fried steak with gravy!

Key Ingredients
Below you will find helpful notes for key ingredients used to make this 3-ingredient brown gravy recipe. Scroll down to the recipe card below for the full ingredient list and exact amounts!
- Butter: You need a form of fat to start gravy and butter is a great choice. Plus, creamy butter is ideal for rich and flavorful stock. You can use unsalted butter, but you may need to add a bit more salt at the end.
- All Purpose Flour: The butter and flour come together to create a “roux”. A roux is what helps thicken the beef broth to become a creamy gravy.
- Beef Broth: Any brand works, so just choose your favorite. You can go with unsalted or salted – just adjust how much salt you add at the end accordingly.
- Pan Drippings – Optional: If you have them, save those pan drippings! While they are optional, they will add extra flavor to your gravy. Directions to use your pan drippings are included in the recipe card notes at the bottom of this post.

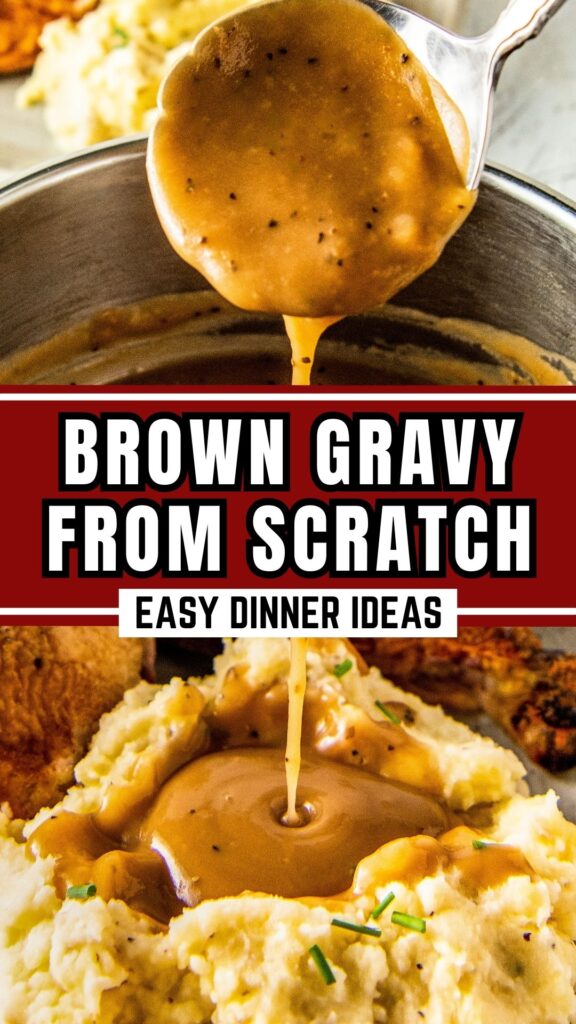
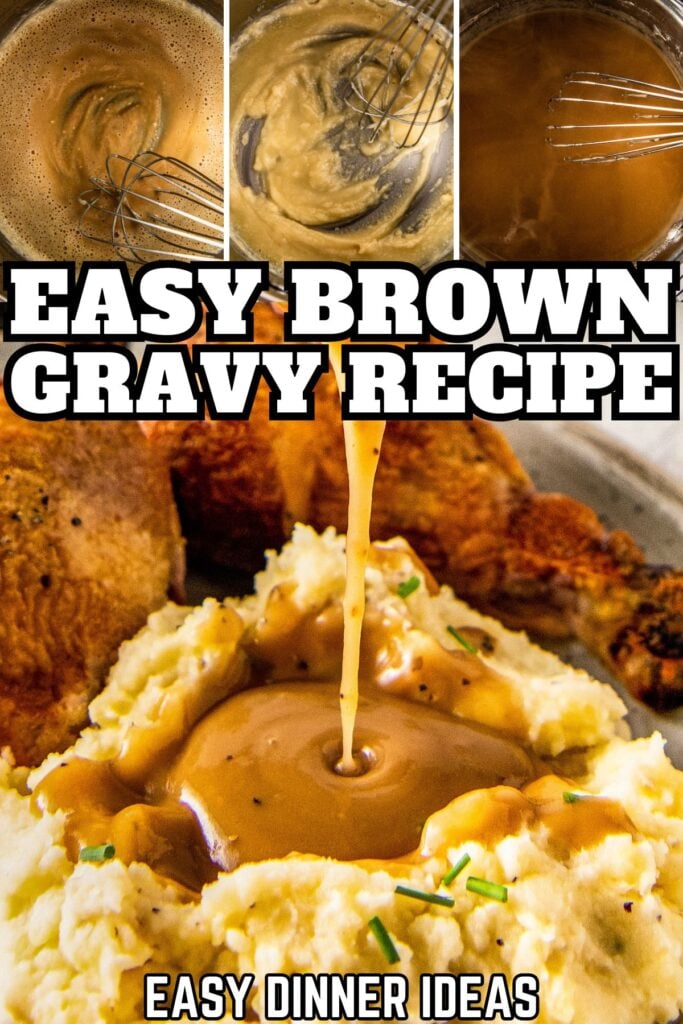
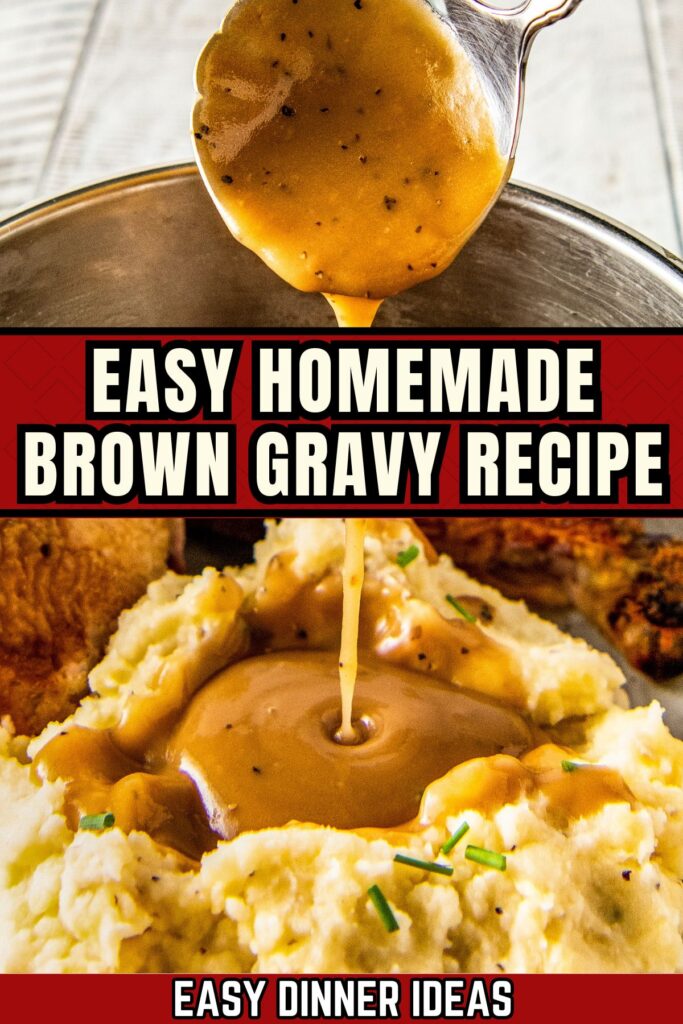
How to Make Brown Gravy From Scratch
It doesn’t get much easier than this! Below is a quick recipe overview, but please scroll to the recipe card at the bottom of this post for full instructions.


- Melt the butter: Make sure that the butter doesn’t burn and that it’s completely melted.
- Make a roux: This is a French cooking term which refers to fat + flour to make a thickening agent for cooking. The key here is to have the roux develop a caramel color and a bit of a nutty smell. This ensures that the flour is cooked and ready for thickening.


- Next whisk in the beef broth. Make sure that you continue to whisk while you pour in the beef broth. Continue to cook and stir for about 3-5 minutes until the gravy thickens.
- Lastly, season with salt and pepper and you’re done! That’s it! Season the gravy to your liking and serve it right away.
Cook’s Tips & Variations
- Whisk, whisk, whisk: That’s the key to creamy and smooth gravy. Always make sure that you whisk continuously to avoid any lumps.
- Taste for salt level: If you are using regular broth (not low-sodium broth), make sure to taste the gravy before adding salt. There’s usually a fair amount of salt already in the broth.
- For a richer gravy, use beef bouillon: Instead of using beef broth, we often us Beef Better Than Bouillon to make my beef gravy. It has a lot more flavor!
- Adjust the consistency to your liking: If you like thin gravy, add more broth. Alternatively, if you like it thicker, use only 1 3/4 cups of broth.
- You can use pan drippings: After frying your meat, don’t clean the skillet, just pour off any excess grease. If you leave the grease, your gravy will become greasy too. Then make the gravy in the same skillet to get all that great flavor!


How to Serve Brown Gravy
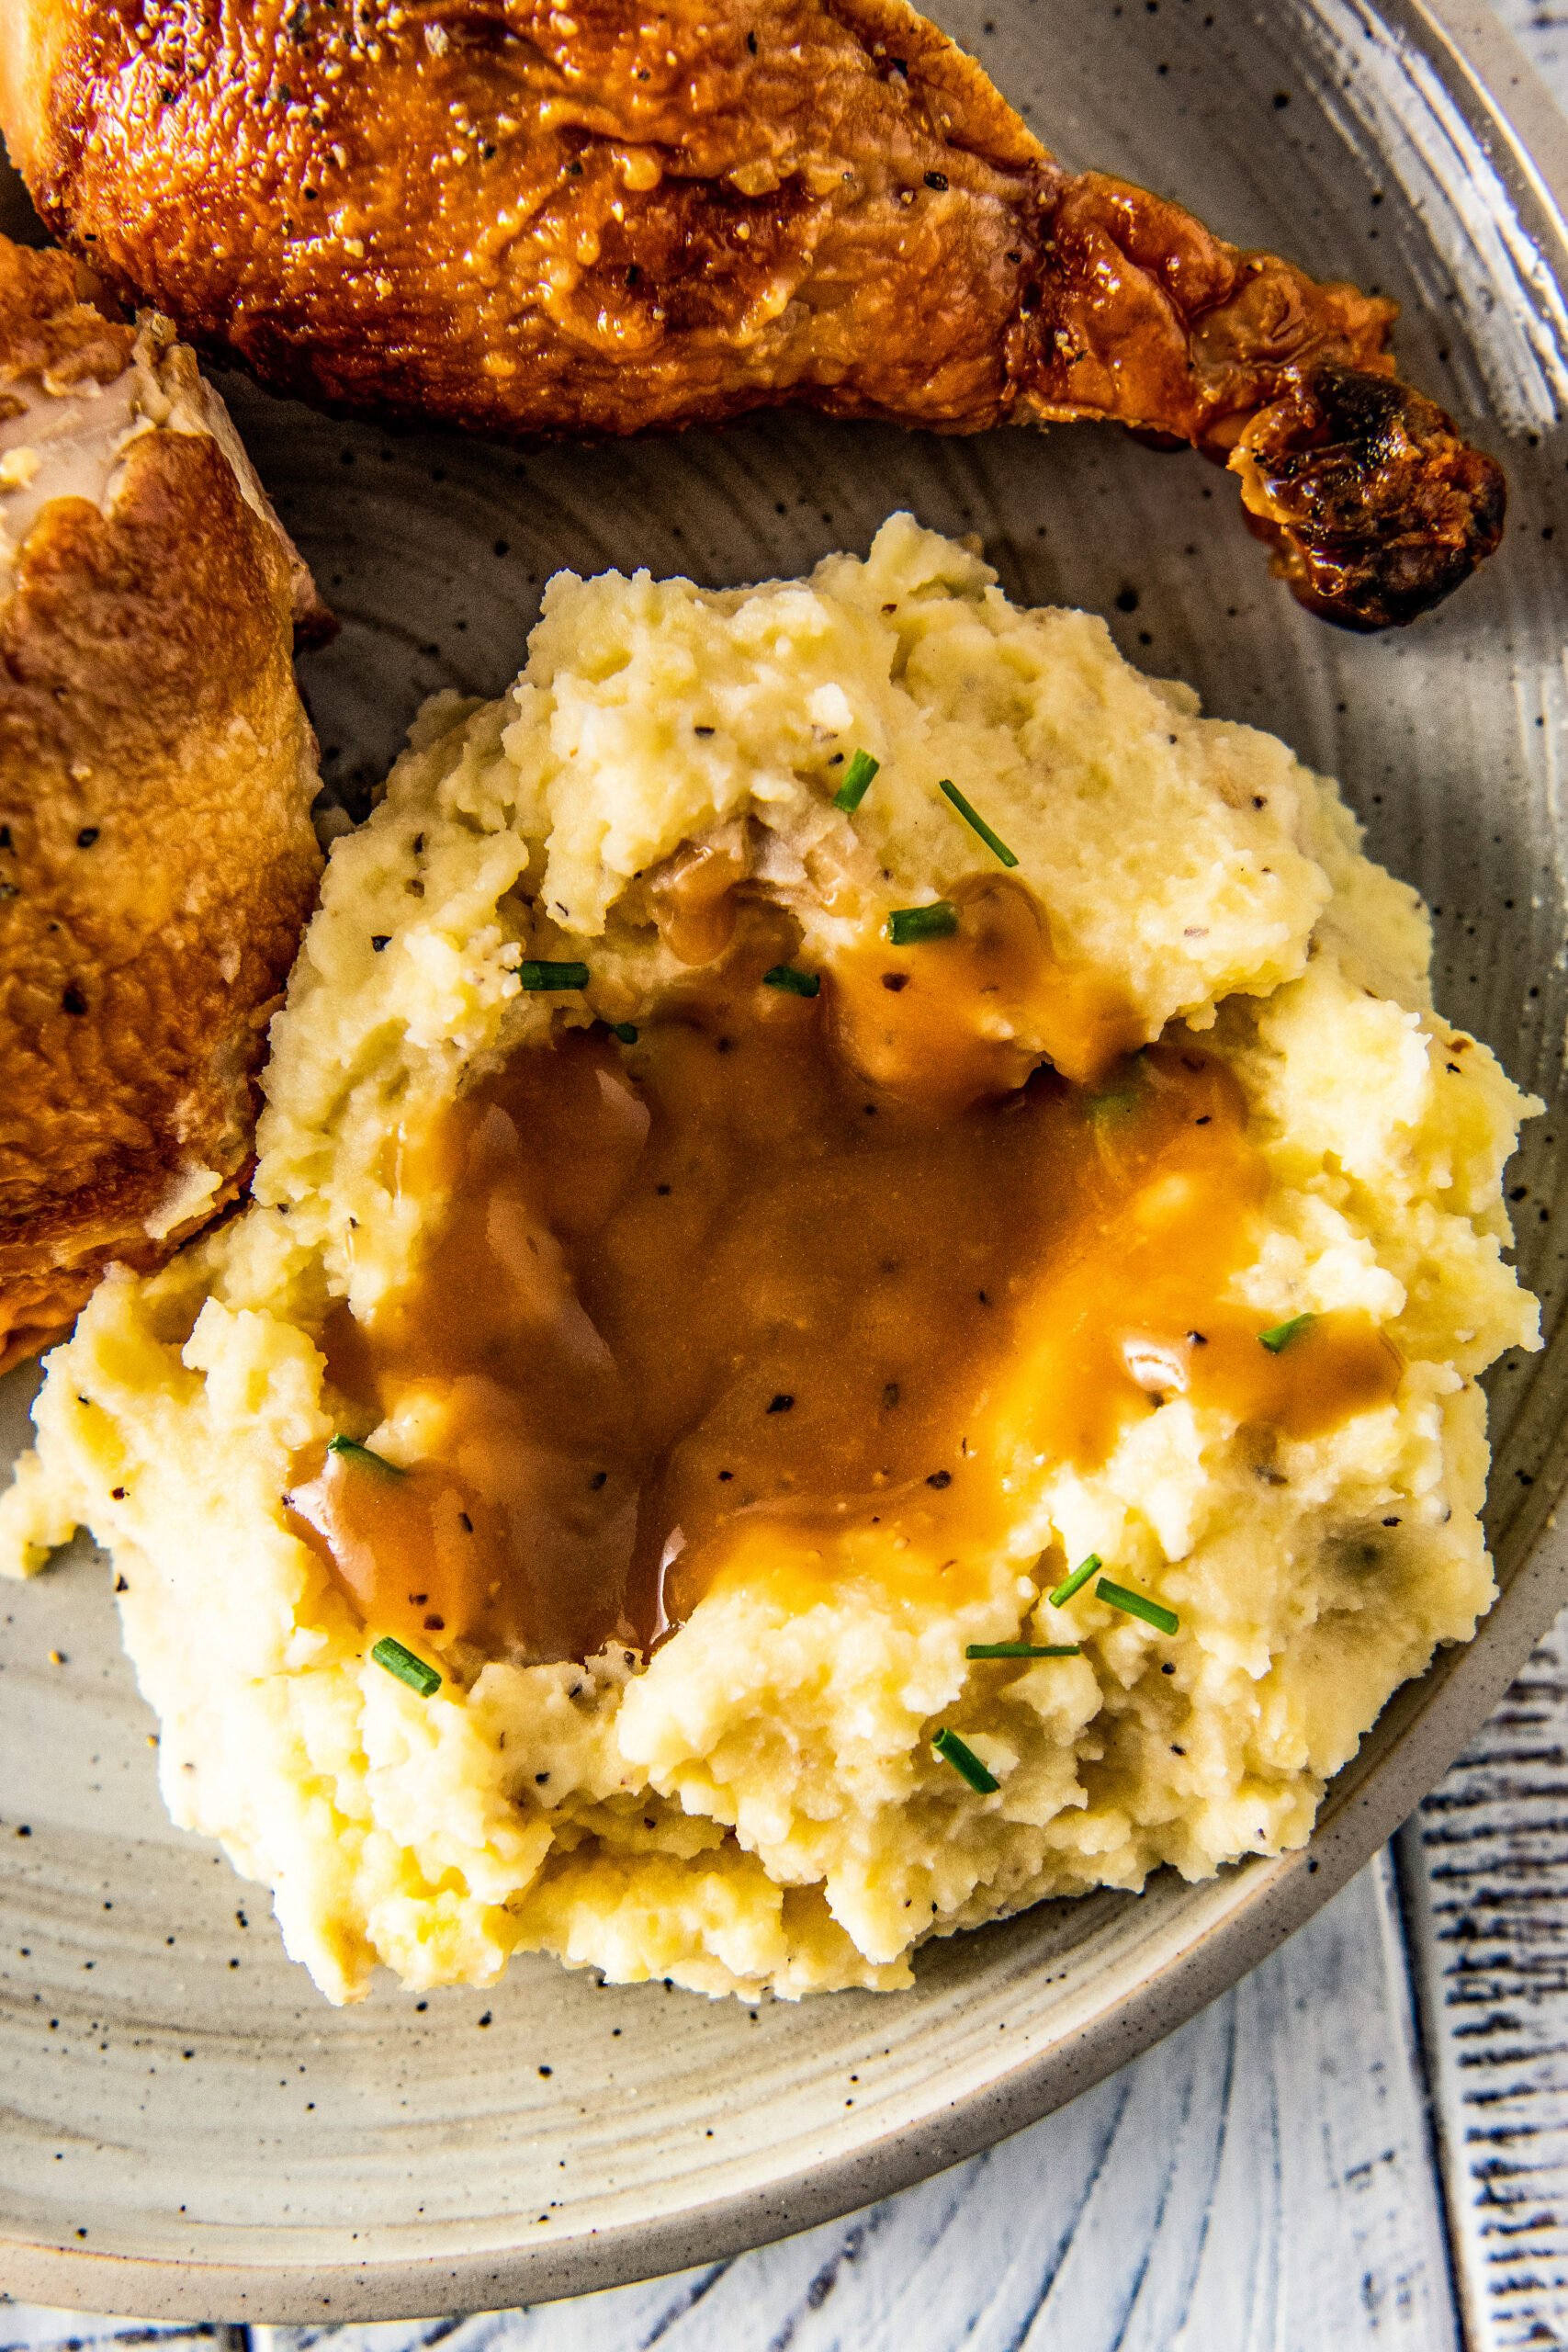
- Poured over mashed potatoes. We’ve got the best mashed potatoes recipe for you! Or try our sour cream mashed potatoes if you like them creamy!
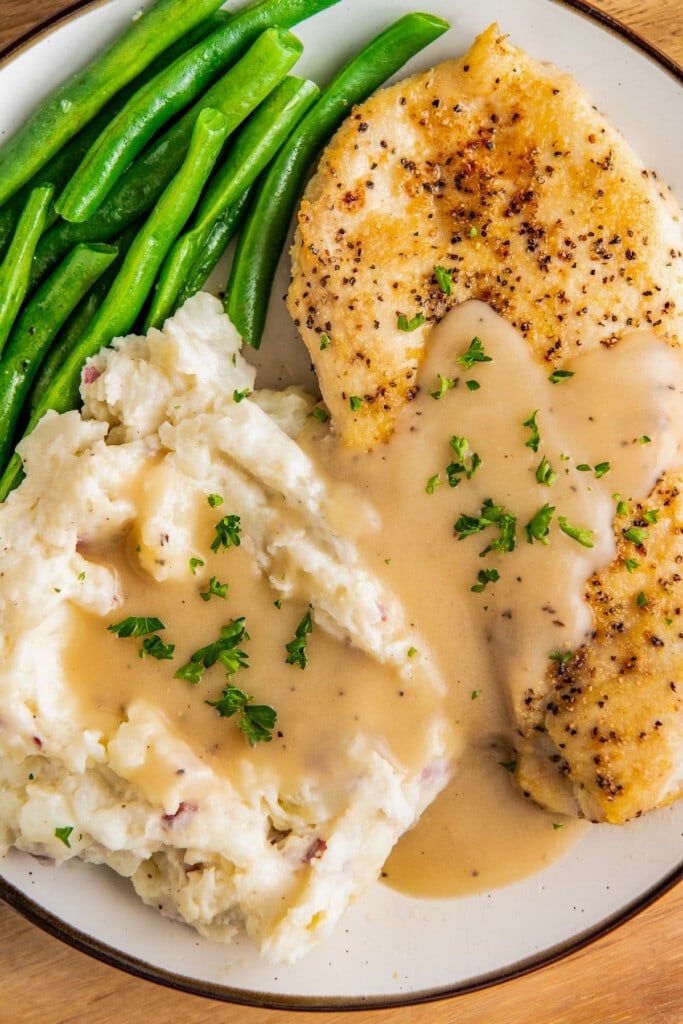
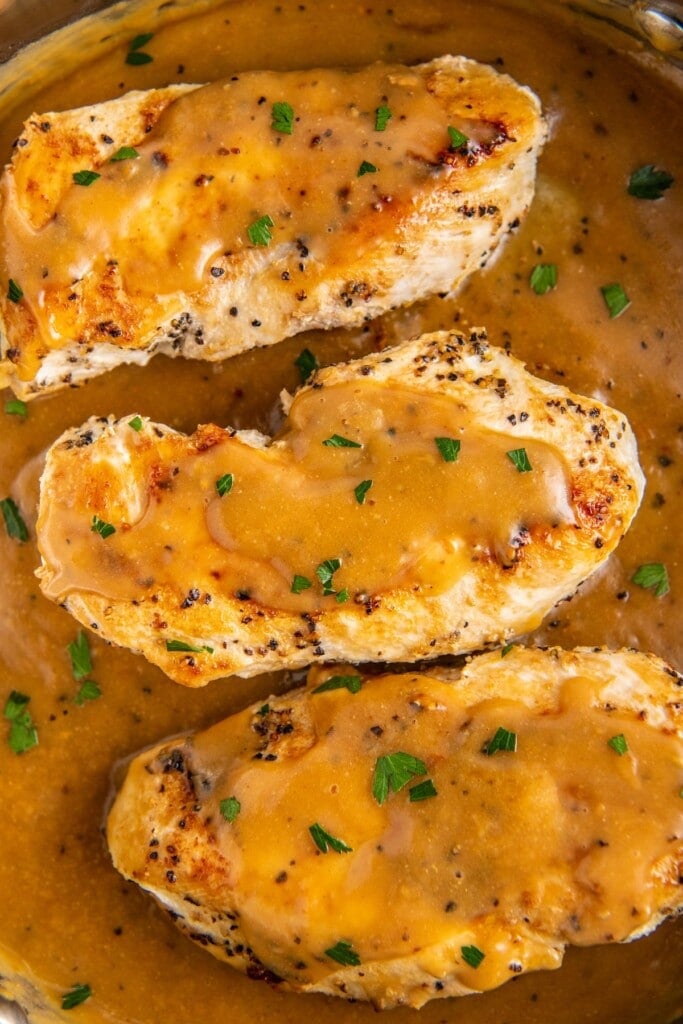
- As a sauce for turkey, chicken, or pork. It’s perfect when it smothering some of our favorite dishes like stuffing stuffed chicken breasts, slow cooked turkey breasts, or pan fried pork chops.
- Make turkey sandwiches with leftovers. We love using this gravy on open-faced turkey or roast beef sandwiches.
- The best french fry gravy. Do you like gravy on your french fries? Don’t knock it till you try it! It’s so delicious!

Storing, Reheating & Freezing
- Storing: Brown gravy can be stored in fridge in an airtight container for up to 5 days.
- Reheating: Add a little extra beef broth and heat it in on the stove top or in the microwave, stirring often.
- Freezing: You can freeze brown gravy for up to 3 months. The important thing to remember is to plan ahead and thaw out the gravy before reheating. This is the best way to keep that smooth consistency and rich flavor.

Homemade Brown Gravy From Scratch
Ingredients
- 3 tablespoons salted butter
- 3 tablespoons all-purpose flour
- 2 cups beef broth
- Salt & freshly cracked pepper, to taste
Want to save this recipe?
Instructions
- In a small sauce pan, melt the butter over medium heat. Add the flour and cook for 2 minutes, whisking constantly, until the flour mixture is the color of a light caramel.
- While still whisking, slowly pour in the beef broth. Continue to cook, whisking constantly, until the gravy thickens, about 3 to 5 minutes. The gravy will start out runny but quickly become thick as you keep whisking. It is very important to keep stirring so the gravy doesn’t get lumps or burn.
- Add salt and pepper, to taste, and then serve immediately!
⭐️ Tried this recipe? Leave a comment and rating! It only takes a minute and helps support our family-run blog. ❤️


I am delighted that you shared the Easy Homemade Brown Gravy recipe. No longer will I use the packaged gravy with tons of salt! This recipe sounds much like my mother’s way of making gravy and hers was delish! I could never get it right but your recipe helps me to get it right.
So glad you enjoyed it Vicki! Thanks for taking the time to leave a comment!